
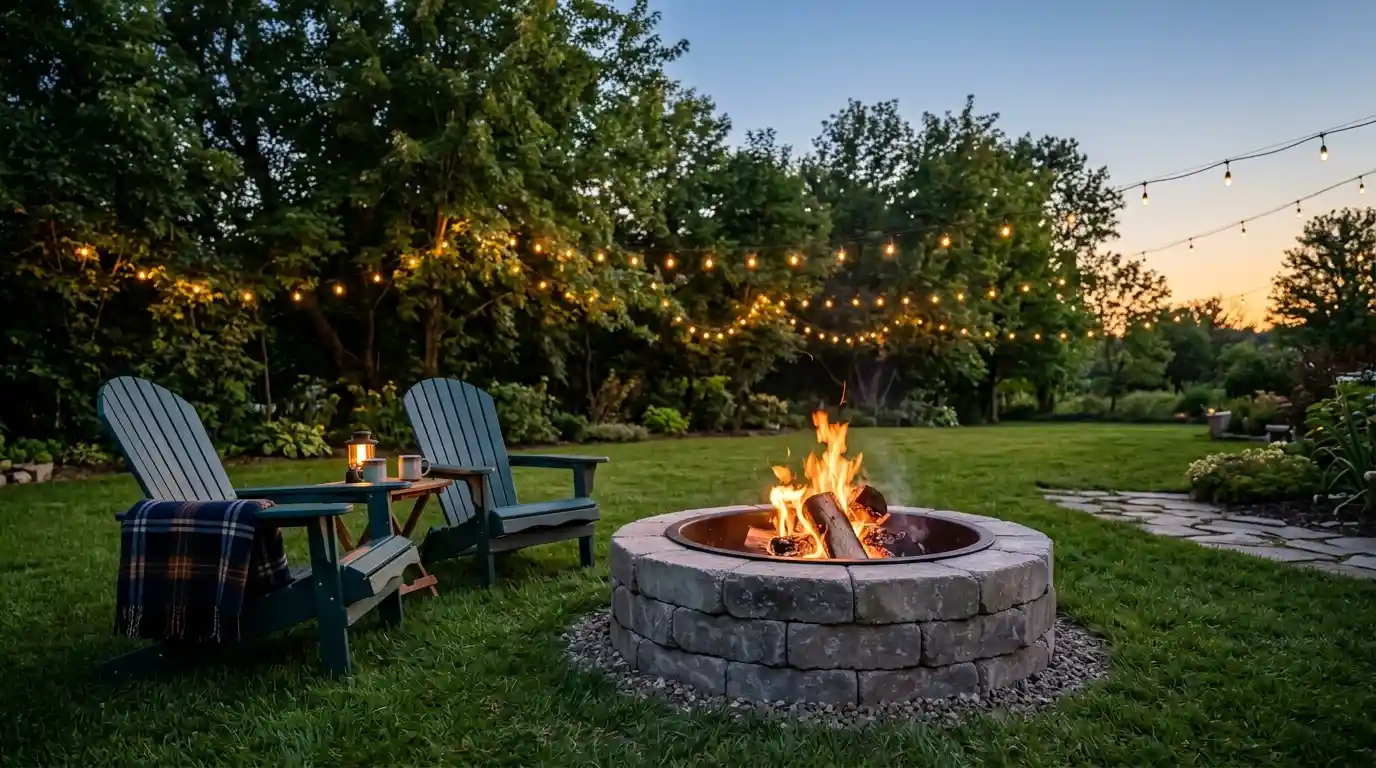

My father said to me to build a fire pit so i built my first fire pit on a Saturday afternoon with no plan beyond “stack some blocks in a circle.” By the second fire, the base had shifted, one section of the wall was leaning inward, and the whole thing looked less like a feature and more like something that had survived a minor earthquake. The problem wasn’t the blocks. It was everything I’d skipped before I touched them the site selection, the drainage, the base prep.
Every fire pit guide I’d skimmed jumped straight to stacking, and stacking is genuinely the easy part. The decisions that determine whether a fire pit lasts five years or needs rebuilding by autumn all happen before the first block goes down. That’s really what separates a fire pit that holds up from one that doesn’t: not skill with a trowel, but patience in the first two hours. Get the site right, get the base right, and the build itself moves fast and stays stable.
Where You Put It Matters More Than What You Build It From
Site selection is the decision most DIY guides treat as an afterthought, and it shouldn’t be. A flat, level area is non-negotiable not roughly flat, actually flat, checked with a spirit level rather than eyeballed from the back door. Build on a slight incline and the whole structure shifts over months as the ground settles unevenly beneath it, and by the time you notice, the fix means pulling the thing apart.
Clearance from structures is the next decision, and the numbers vary depending on who you ask and where you live. Most guidance settles somewhere between 10 and 20 feet from any structure, fence, tree, or anything else that could catch fire 15 feet is the figure that comes up most consistently across professional sources, and it’s the number I’d default to unless your local fire department specifies otherwise. Check for overhanging branches and low-hanging power lines too; a clearance measurement from the base of a tree means nothing if a branch hangs directly above the pit.
Wind direction gets skipped constantly and shouldn’t be. Position the fire pit somewhere that doesn’t send smoke directly into your seating area or your neighbour’s windows every time the wind shifts. A fire pit that smokes out the people sitting around it stops getting used within a season, regardless of how well it’s built.
Drainage is the part that separates a fire pit that lasts from one that doesn’t, and it’s invisible until it’s already a problem. Avoid any spot where water pools after rain standing water weakens the base structure over time and creates the freeze-thaw cycle that cracks blocks and shifts foundations in colder climates. If your only flat spot has drainage concerns, a gravel trench running away from the pit solves most of it before construction even starts.
Before any of this, check your local fire codes. Rules vary significantly by location by municipality, sometimes by HOA on top of that and some areas require a fire pit permit or have specific setback requirements that override the general guidance above. A few suburban areas restrict fire pits entirely during dry seasons. A ten-minute call to your local fire department settles this before you’ve spent money on materials, which is considerably better than finding out after the blocks are stacked.This is the same planning discipline covered in Home Additions the costly mistakes there almost always trace back to skipped permission checks, not poor construction
Materials: What Actually Handles Heat and What Just Looks Like It Does
The material decision splits into two zones, and conflating them is one of the most common and most dangerous — mistakes in DIY fire pit builds. The interior, where flame makes direct contact, needs genuinely fire-resistant materials. The exterior just needs to be heat-resistant, which is a meaningfully lower bar.
Fire bricks or clay fire bricks are the standard choice for the interior wall because they’re engineered specifically to withstand direct flame without cracking. Standard concrete blocks on the interior are a real hazard they can crack or even fracture under sustained heat exposure because they weren’t designed for it, and that’s not a theoretical risk, it shows up in practice. For the exterior, regular retaining wall blocks, stone pavers, or natural stone all work fine since they’re only dealing with radiant heat rather than direct contact.
Concrete blocks remain the most popular DIY material overall because they’re affordable, easy to source, easy to stack, and come in styles that mimic natural stone reasonably well. Stone pavers specifically trapezoidal pavers, narrow on one side and wide on the other are what you need for a proper circular fire pit, since the tapered shape lets them sit snugly in a ring without visible gaps. Rectangular pavers work for a square or rectangular design instead. Reclaimed building materials salvaged stone, old bricks, rockery stone from a local salvage yard are a genuinely good option if you’re comfortable sourcing them, and they bring character that uniform retail blocks don’t.
A metal fire ring or steel fire ring insert sits inside the block wall and does real protective work: it shields the blocks from direct heat exposure, reduces cracking over repeated fires, and gives the interior a clean, consistent shape that’s harder to achieve with stacked masonry alone. Fire pit kits that include a ring alongside the stones are widely available and remove some of the guesswork, though they cost more than sourcing materials separately.
For the base, gravel or crushed stone is the standard, sometimes paired with sand on top for easier leveling. Lava rock and fire glass both work as a finishing layer inside the ring lava rock is porous, drains well, and doesn’t retain moisture the way standard landscaping stones do, which matters because moisture retention under heat is exactly what causes certain stones to crack or, in worse cases, explode. This is the one warning that shows up consistently across every credible source: never use pea gravel or river rocks inside the fire area. They hold moisture, and trapped moisture under high heat can cause violent fracturing.
The Build Sequence That Actually Holds Up
Mark the outline first. A stake driven into the centre, a length of string tied to it equal to your intended radius, walked in a full circle with spray paint marking the line as you go that gives you a clean, accurate circle for a standard 36 to 44 inch diameter fire pit, which is the range most residential builds fall into. For a square or rectangular design, lay your first course of blocks directly on the ground and use that as your marking guide instead.
Excavate to about 6 to 8 inches deep within your marked outline. Some methods also call for digging a slightly deeper trench around 12 inches just around the perimeter for additional stability, particularly useful if your soil drains poorly. Remove all grass, roots, and topsoil completely; anything organic left under the base will decompose and create settling later.
Fill the excavated area with at least 6 inches of gravel or crushed stone. Spread it evenly with a rake, then wet it down with a garden hose before compacting it with a tamper dry gravel doesn’t compact properly, and skipping the water step is one of those shortcuts that doesn’t show up immediately but undermines the whole structure’s stability over time. Some builders add a thin layer of leveling sand on top of the compacted gravel specifically to make fine-tuning the first course of blocks easier; it’s a small extra step that saves real frustration once you’re placing stones.
Lay your first course dry no adhesive yet to check everything sits level and square before committing to anything permanent. Use a rubber mallet to tap each block or paver into place, checking with a level every second or third piece. Any unevenness in this first course multiplies as you build upward, so this is worth getting genuinely right rather than approximately right.
Once you’re satisfied with the dry fit, apply masonry adhesive between courses for a permanent build, staggering the seams so each block sits centred over the joint of the row beneath it that stagger is what gives the structure real compressive strength rather than a stack of independent pieces. Dry stacking without adhesive is a valid choice too, particularly for a more temporary or adjustable design, but it gets classified as non-permanent in most planning frameworks if that distinction matters for your local permit situation. Leave a gap or two in the lowest course for ventilation; airflow underneath keeps a fire burning cleanly rather than smouldering.
Fit your metal fire ring inside once you’re two or three courses up, before the final capstone layer goes on test the fit against your wall before you commit to the last course, because adjusting block placement after the adhesive cures is a genuinely frustrating exercise. Build three to four courses high for a typical above-ground design, finishing with a capstone layer that protects the top edge and gives the whole thing a clean, finished look.
Line the base inside the ring with lava rock or fire-rated stone, then add your finishing layer pea gravel outside the direct heat zone, decorative gravel, or flagstone around the surrounding area. If you’re using masonry adhesive, give it the full curing time typically 24 to 48 hours before lighting your first fire. Adhesive that hasn’t cured properly fails under the thermal stress of that first burn, and you’ll be repairing a brand-new fire pit instead of enjoying it.
Getting the First Fire Right and Keeping the Pit Standing
Start small. Newspaper, dry leaves, dry sticks your tinder layer followed by kindling, then progressively larger pieces of seasoned hardwood once the smaller material has properly caught. Never burn treated wood or anything with chemical coatings; it damages the firebrick lining faster than ordinary use ever would. A spark guard or mesh lid is worth having regardless of how careful you are, particularly with children or pets nearby, since it catches stray embers before they become a problem on dry grass.
Maintenance after each use matters more than people expect from something that’s essentially a stack of stones. Let ashes cool completely before removing them, then store them in a metal container rather than anything flammable. Check your blocks periodically for cracks, leaning, or shifting, and reset anything that’s moved before it becomes a structural problem rather than a cosmetic one. Clear leaves and debris from inside the pit before each use, especially after wind or rain.
Cost-wise, a DIY build using concrete blocks typically runs $150 to $300 depending on materials, against $250 to over $2,200 for professional installation and that gap is exactly why this remains one of the most popular weekend projects in any garden. Done properly, with the site chosen carefully and the base built right, a fire pit you’ve built yourself outlasts most expectations and becomes the actual gathering point of a backyard rather than a feature nobody quite trusts to sit around.
Conclusion to Build a Fire Pit:
Learning how to build a fire pit isn’t really about mastering masonry it’s about respecting the two hours of prep most people skip in their hurry to start stacking. Get the site level, the drainage sorted, and the base properly compacted, and the build itself is forgiving even for a first-timer. Skip those steps and no amount of careful block-laying saves you from a structure that shifts, cracks, or smokes out every gathering it was supposed to host. Do it right once and it’s the feature of the backyard for years, not a project you’re quietly rebuilding by next autumn.
Frequently Asked Questions (FAQ’s)
First, choose a genuinely level area with good drainage and enough clearance from buildings, fences, trees, and overhead branches. Then check local fire codes and HOA rules before buying materials, as setback and permit requirements vary by location.
For the inner wall, fire bricks are the safer choice because they are designed to handle direct flames and repeated high temperatures. By contrast, concrete or retaining-wall blocks can be used outside the fire area, but they should be protected with a steel fire ring or firebrick lining.
Mark the shape, remove the grass and topsoil, and excavate the area to a depth of about 6–8 inches. Add at least 6 inches of gravel or crushed stone, dampen it, compact it firmly, and level the first course before stacking the remaining blocks.
For beginners, a fire pit kit is usually the better option because the blocks and metal ring are already sized to work together. However, buying materials separately can cost less and offers more design freedom, but it requires careful measurements and proper heat-safe material choices.
A basic DIY fire pit made with concrete blocks typically costs $150–$300. Professional installation may range from about $250 to more than $2,200.
