

My first solo paint job was a small bedroom. One window, pale yellow walls, maybe thirty nail holes from whoever lived there before. I grabbed the wrong roller nap at the hardware store, didn’t bother taping the baseboards because I was certain my hand was steady enough, and pulled the painter’s tape on Sunday evening when everything had already fully dried and set. The paint came off in strips. Big ones. I stood there for a while just looking at it.
Repainted that same wall four days later, this time with tape on the baseboard and enough patience to actually let the process work. The room looked fine in the end. But the second attempt only went better because the first one had gone badly enough to make me stop cutting corners. That’s the part nobody tells you when you’re reading a beginner painting guide. Knowing how to paint a room isn’t about the painting. It’s about the 80 percent of the job that happens before you open the can.
Before You Pick Up a Brush, the Room Has to Be Ready:
Move everything out. Not to the center out. I know the advice is always to push furniture to the middle and cover it with a drop cloth, but if the room is small enough to paint in a weekend, it’s small enough to empty. A canvas drop cloth on the floor handles protection for anything you genuinely can’t remove. Plastic drop cloths are cheaper but they’re slippery someone steps on a paint spill and suddenly the project is more complicated than you planned. Paper is better for covering light fixtures, cabinets, and built-ins.
Remove the outlet covers, light switch plates, HVAC registers, blinds, curtain rods, and curtains. Store the screws in a Ziploc bag so reinstallation isn’t a forty-minute search. Take down all wall decor. If you’re moving art around and want to get rid of old nail holes or anchor holes, now is the time before you’ve primed anything.
Wall Repair Is the Part Most DIYers Rush, and It Shows Later:
Clean walls with damp rags and warm water before anything else. This is also a good time to flag anything that goes beyond cosmetic — cracks that run deep, water stains, or wall damage that points to a bigger structural issue are worth addressing before paint covers them. If your room needs more than a fresh coat, the home improvements guide covers the renovation decisions worth making before calling a contractor.
If you’re painting a kitchen or an area people touch constantly, use a mild soap or water-based degreaser and rinse thoroughly cooking oils and hand oils cause fish-eyeing and adhesion problems that show up after the paint dries, not during. Let everything dry completely. Inspect every wall carefully. Cracks, dents, nail holes, anchor holes fill them all with lightweight spackling compound and a putty knife. Overfill slightly, let it dry per the manufacturer’s instructions, then sand flush with 220-grit sandpaper or a sanding sponge.
Skip the sanding and that patched spot will catch raking light differently from the rest of the wall not all the time, not at every angle, but enough that you notice it every time you walk in. It’s one of those things you can’t un-see once you’ve seen it. While you’re down at baseboard level anyway, check for gaps between the baseboard and the wall and recaulk anything that’s pulled away. Two minutes now versus a visible seam in your finished paint job.
The Primer Conversation Is More Nuanced Than You’d Expect:
Most people either prime everything or skip primer entirely. Neither is quite right. If you’re painting clean walls in good condition and the new color is close to the old one, you can often skip it. But if you’re going dark to light, painting over bare wood, varnished wood trim, or patched drywall, primer is not optional it’s what prevents flashing, that frustrating situation where repaired spots absorb paint differently and dry with an uneven sheen that no second coat fixes.
A tinted primer matched to your paint color gives better coverage at a lower cost than burning through extra coats of the topcoat. Many brands offer paint and primer in one, which works fine for straightforward repaints. For oil-based surfaces or anything seriously stained, Kilz Original Primer — oil-based, so ventilate properly is the right call. Thin coats throughout, primer and paint both. Excess paint causes bubbling that peels, and thick primer doesn’t perform better than thin primer. It just takes longer to dry.
Painter’s Tape Mistakes That Ruin Otherwise Good Work:
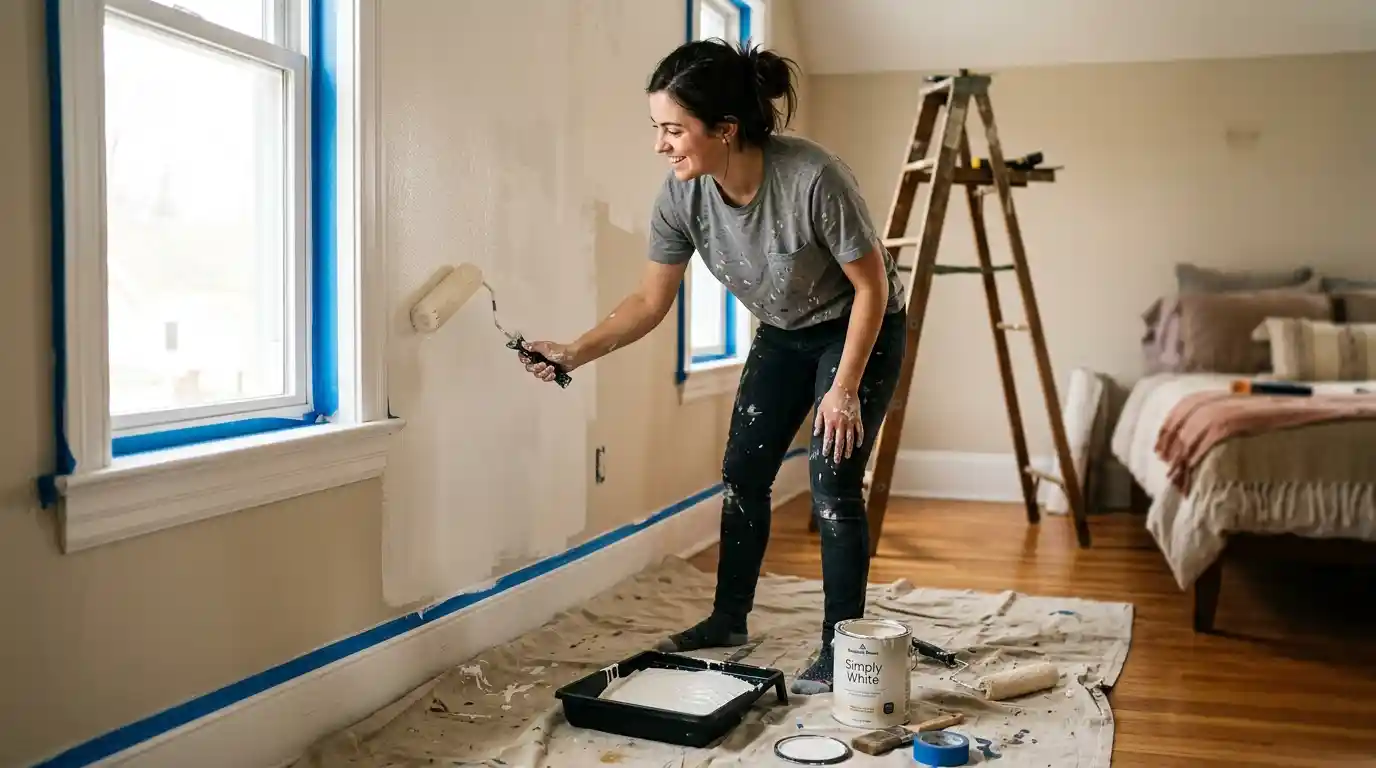
Apply painter’s tape not masking tape along every border: baseboards, window frames, door frames, crown molding, ceiling line. Frog Tape specifically is worth the extra cost because it seals better at the edge. Once the tape is up, press it down properly run a credit card, the flat edge of a plastic putty knife, or just a firm fingertip along the entire length of every taped edge. This isn’t optional fussing. If the tape isn’t fully seated against the wall, paint finds the gap, bleeds under, and you end up with a wavy edge instead of the crisp line you taped for. The tape going on takes maybe five extra minutes.
Fixing what happens when it doesn’t seal takes considerably longer. The timing of tape removal matters as much as application. Pull it while the paint is still wet not tacky, wet for the cleanest edge. If the paint has fully dried when you pull, there’s a real chance the tape takes the paint with it and leaves a rippled or jagged line. Score along the tape edge with a flexible putty knife before pulling if you’ve lost track of timing and the paint has already cured.
The Right Paint Finish Matters as Much as the Color:
Paint finish is the decision most beginners make last, when it should be made early. Flat and matte finishes absorb light instead of reflecting it, which makes them forgiving on imperfect walls great for bedrooms and ceilings, not ideal for high traffic areas where cleaning is regular. Eggshell sits between flat and satin low luster, low shine, roughly the sheen of an actual eggshell if you’ve ever held one up to the light.
It’s moderately durable and works well in rooms that get used but not abused, living rooms and dining rooms mostly, spaces where the walls aren’t taking daily contact. Satin is a step shinier and a lot more practical in high traffic areas. Kitchens, hallways, entryways, a kid’s bedroom satin handles cleaning without breaking down the way flatter finishes do. It’s the finish I end up recommending most.
Semi-gloss is what most painters reach for in bathrooms, utility areas, closet doors, and trim it cleans easily, handles moisture reasonably well, and holds up. Gloss is harder, shinier, and more washable still, so it earns its place on wood trim, cabinet doors, and entry doors that get touched constantly. The thing to know about satin specifically and this catches people off guard is that it reflects enough light to make wall imperfections obvious. Nail holes you thought were filled, drywall patches that felt smooth under your hand, uneven texture around a repair satin finds all of it. Which is why the finish decision and the prep work aren’t separate conversations. They’re the same one.
Color Selection Without the Guesswork:
Don’t choose a paint color from a swatch under commercial lighting at the paint store and then wonder why it looks wrong on your walls at home. Get actual samples not swatches, samples and put them on your wall. At least a 12 inch by 12 inch square of each color you’re seriously considering, painted directly on the surface. Then leave them there for a day or two and just live with them. Check in the morning when the light is coming in from whatever direction it comes from. Check in the afternoon. Check at night under whatever lamps you actually use.
I’ve had clients fall hard for a color in the store and call me confused two days later because it looked completely different at home. It’s not the paint’s fault. Colors shift under different lighting conditions in ways that are genuinely hard to predict from a small swatch under fluorescent store lights. A sage green that’s calm and warm at noon can read almost like a gray by 6pm, depending on the room’s orientation. The Amazon Paint Finder is a decent digital shortcut for finding complementary shades, but nothing replaces paint on your actual wall before you commit to a gallon.
The Actual Painting Order and Why It Matters:
Ceiling first, walls second, trim last always. Painting the ceiling first means any drips or spatters land on unpainted walls you’ll cover anyway. Use a 3/8 inch nap roller with an extension pole and roll in one direction, overlapping each row, then the opposite direction on the second coat if needed. Let the ceiling dry completely before touching the walls.
For trim, use a high quality semi-gloss acrylic enamel paint and a 2.5 inch angled paintbrush. Two coats, with full dry time between. Cutting in on trim is detail work take your time, don’t rush it. When the trim is fully dry, start cutting in the walls. Load an angled brush and paint a strip about 2 to 3 inches wide along every edge in the room the ceiling line, along baseboards, around window frames, door frames, into corners. Pour paint into a handheld paint pail rather than carrying the full can around the room. You’ll be more precise and considerably less tired.
Work one section at a time, not the whole room before rolling. Cut in a wall, roll it immediately. That’s the sequence. Do one section at a time, then immediately roll that same wall while the cut-in edges are still wet. This is working to a wet edge it’s what prevents a visible demarcation line between the brushed edges and the rolled center. Blend them while both are still wet and the line disappears.
Fill the roller tray just over half full too much and it spills. Load the roller, roll from baseboard to ceiling, straight back down without reloading, then load again and start the next row overlapping the previous one. If the roller edges leave paint build-up lines, roll back over them to blend. Keep the pace steady overworking paint as it starts to set causes the paint to lose its ability to level, which leaves brush marks and roller stipple that no second coat hides.
Cleanup, Tool Care, and the Final Details:
Tape comes off while the paint is still wet not later, now, while you’re still in the room. It’s the step people keep forgetting until they’ve already packed up and the paint has hardened around the tape edge. Clean brushes right after you finish, not the next morning. Garden hose, warm soapy water, work the paint out with your hands until the water runs clear, then leave them somewhere with airflow to dry fully. Roller covers wrapped in plastic wrap or sealed in a freezer bag will hold overnight if you need to pick up the following day up to about 24 hours before they start to stiffen.
Don’t leave paint in a sprayer pour leftover paint back into the can and clean the machine before storing. Reinstall outlet covers, light switch plates, curtain rods, and blinds once the paint has fully cured not just dried, cured, which can take anywhere from a few days to a month depending on the paint. Touch-ups are harder than people expect, even on day one, so get it right the first time rather than relying on the ability to fix it later.
Conclusion For How to Paint a Room:
Knowing how to paint a room well is mostly knowing what not to skip. The prep takes longer than the painting. The tape matters more than the brush technique. The finish choice feeds back into how carefully you sand. None of it is complicated it just has to happen in the right order, without the shortcuts that feel harmless until the paint dries and you’re looking at exactly why they weren’t. Get the sequence right once and every room after that gets easier.
